SEJR POS · Getting started
Create a menu
Here is the best and quickest route to a complete menu in SEJR POS, with categories, products, modifiers and price groups.
The sequence is what matters most. Do things in the right sequence, and you only have to fill in each thing once.
Each part has its own guide with video, if you want to see how it is done.
Step by step
Tick a step when it is done
Button names are written as they appear on a till set to Danish. The brackets give the name on a till set to English, the first time a button is mentioned. Change the till's language
- Before you start
- Write your menu down on paper or in a spreadsheet: categories, products, prices and the add-ons customers can choose.
- Categories (see the guide Create a category)
- Go to Admin → Kategorier (Admin → Categories) and create all your categories, e.g. Coffee, Cake and Sandwiches.
- Give each category a Farve i POS (Color in POS). Then every product in the category gets the same colour, and you do not have to choose a colour for each product.
- Put the categories in the sequence they should appear in on the till, using the arrows in the Prio (priority) column. Then tap Gem rækkefølge (Save order).
- Modifiers (see the guide Create modifiers)
- Go to Admin → Tilpasninger (Admin → Modifiers) and create your groups of options, e.g. Milk choice with Oat milk and Lactose-free.
- Link each group to the categories it should apply to, using the Tilknyt kategorier (Link categories) icon. Then every product in the category gets the modifier automatically, including the ones you create afterwards.
- Products (see the guide Create a product)
- Go to Admin → Produkter (Admin → Products) and create your products one category at a time.
- Fill in only what is needed: Navn (Name), Primær kategori (Primary category), Pris inkl. moms (kr) (Price incl. VAT, kr) and Momssats (VAT rate). The item number is filled in automatically, and the colour comes from the category.
- Should a product appear in several categories? Choose them under Yderligere kategorier (Additional categories) instead of creating the product twice.
- Does a single product need an extra modifier? Tap the Tilpasninger icon next to the product and choose the group.
- Price groups (see the guide Create price groups)
- Create price groups last, when all the products exist. Go to Admin → Prisgrupper (Admin → Price groups) and create one, e.g. WOLT.
- Tap Rediger priser (Edit prices) and choose one category at a time under Filter. Fill in only the products that should have a different price.
- Tap Gem priser (Save prices) and close the window with Annuller (Cancel).
- Check on the till
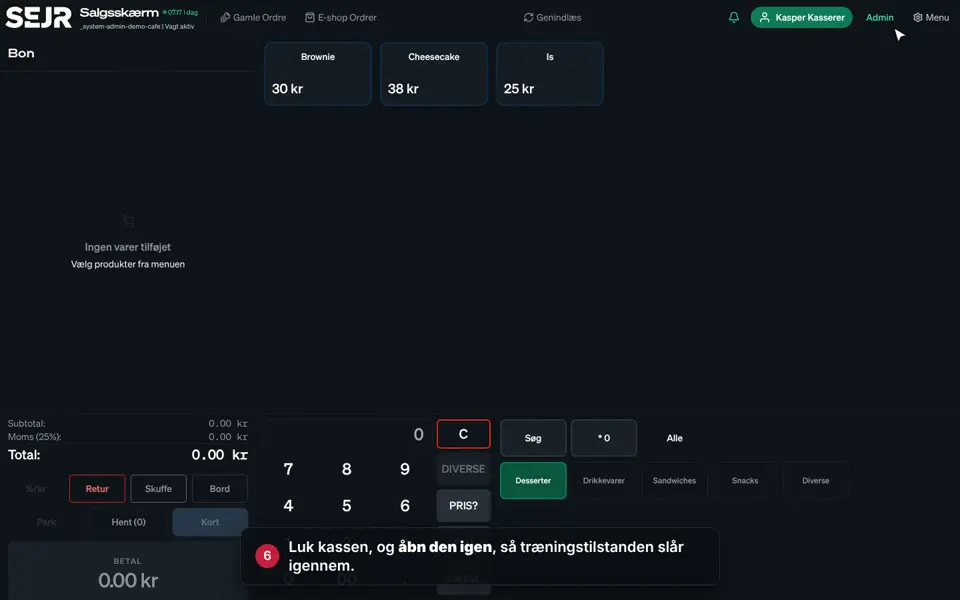
- Tap Tilbage til kasse (Back to register) and then Genindlæs (Reload) at the top of the till.
- Tap a product from each category and check the price and the modifiers.
- Tap the price group's button above the number pad and check the special prices. Tap the button again to go back to normal prices.
- Tap Ryd (Clear), so the order is empty again.
Good to know
- Modifiers follow the primary category. A product gets its modifiers from its Primær kategori, not from additional categories.
- Payment button for Wolt and the like: Tick Opret også en tilhørende betalingsmetode (Also create a matching payment method) when you create the price group.
- Barcodes: If your items have barcodes, click in the Stregkode (EAN/UPC) (Barcode (EAN/UPC)) field and scan the item while you create the product.
- Change it in one place: If you change a category's colour or a modifier group, the change applies to all products in the category.
Finishing up
Your menu is now ready for selling.
When you get new items later, you just create the product in the right category. Colour and modifiers come along automatically.
Not seeing your changes on the till? Tap Genindlæs at the top of the till.
Still not working? Contact SEJR Support. We are happy to help.